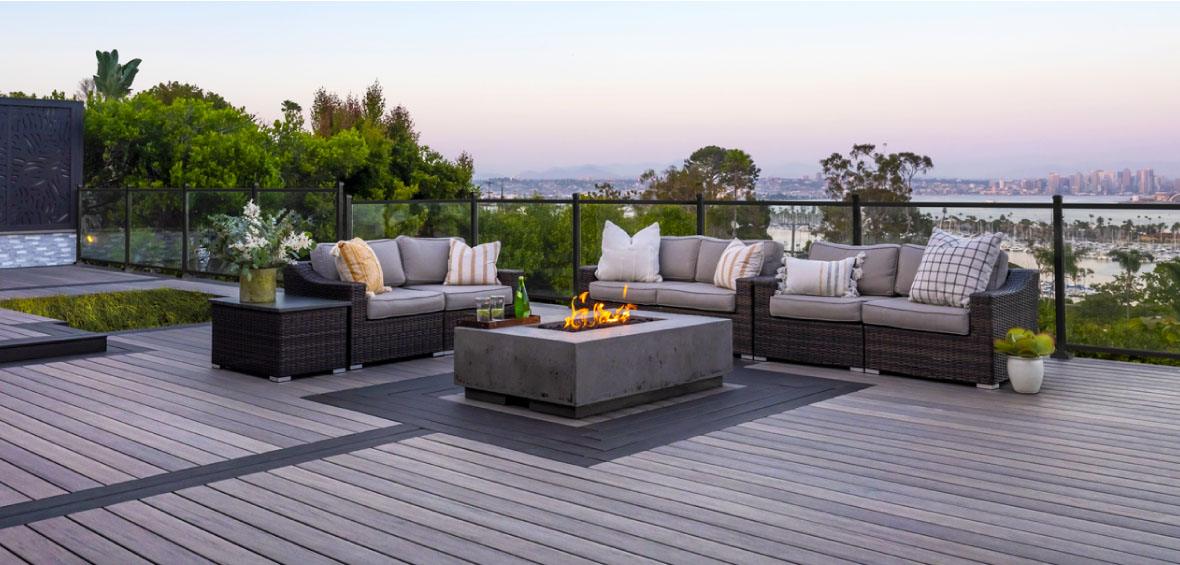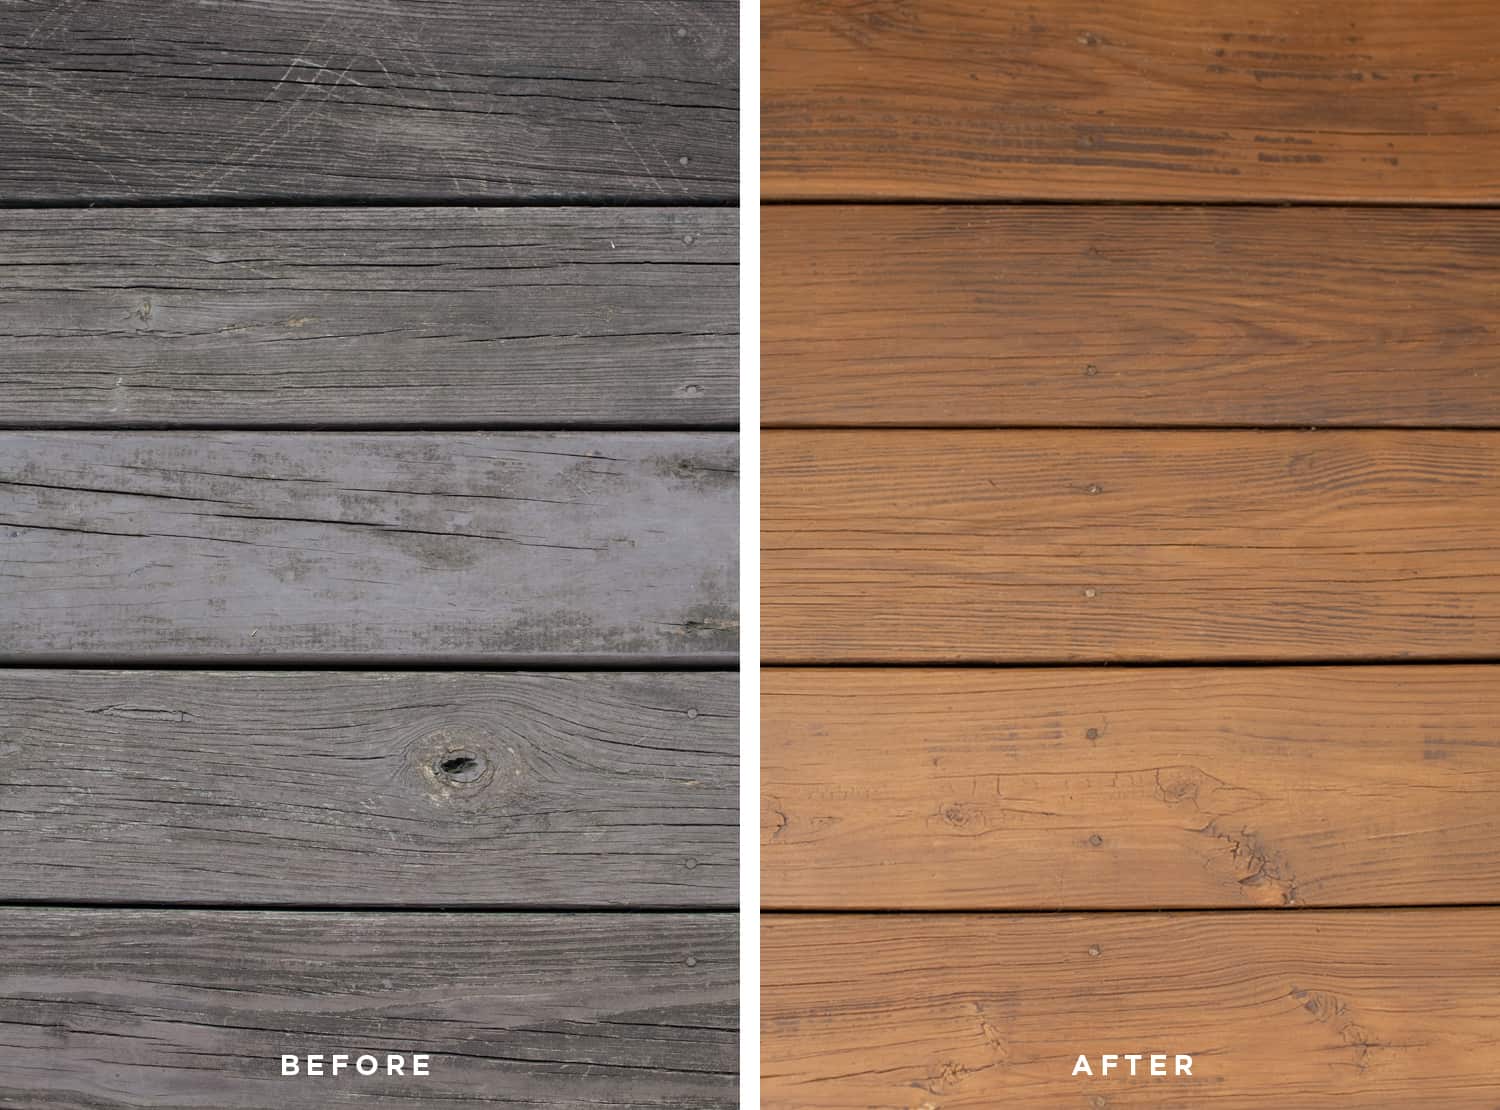
We’ve all felt it. You step out onto your deck, coffee in hand, and instead of a relaxing oasis, you’re greeted by gray, weathered wood and the nagging fear of a splinter. That beautiful outdoor space that sold you on the house has become an unwelcoming, splintered mess.
Here in Pennsylvania, our decks take a beating. From humid, mildew-prone summers to icy winters with constant freeze-thaw cycles, wood doesn’t stand a chance without some help.
But here’s the good news: In many cases, you don’t need a full, costly deck replacement. A proper deck restoration can bring that tired, old wood back to life, giving you many more years of barbecues and quiet evenings. This guide will walk you through the entire process, step-by-step, from inspection to the final coat of sealer.
First Things First: A Thorough Deck Inspection
Before you buy a single gallon of stain, you must play detective. You need to know if your deck is a candidate for restoration or if it needs more serious structural help. Grab a flashlight and a screwdriver (one you don’t mind getting dirty).
Check the Bones: Structural Integrity
The “bones” of your deck are the parts you don’t usually see: the posts, joists, and the ledger board (where the deck attaches to your house).
- The Screwdriver Test: Press the sharp end of your screwdriver firmly into the wood, especially around posts near the ground and the ledger board. If it sinks in easily and the wood feels spongy or stringy, you have rot.
- Ledger Board: This is the most critical connection. Check that it’s securely attached with proper lag bolts, not just nails. For a complete checklist, the International Association of Certified Home Inspectors (InterNACHI) offers a detailed deck inspection guide.
- Posts and Joists: Look for significant cracks, sagging, or rot.
If you find widespread rot in these structural components, stop. This is where you’ll need to decide between deck repair vs. deck replacement. Your best bet is to call a professional (like us at BucksMont Decks) for an assessment. Your family’s safety is non-negotiable, which is why it’s wise to review a government deck safety checklist.
Skin Deep vs. Deep Damage: Decking and Railings
If the structure is solid, look at the “skin”—the decking, stairs, and railings.
- Decking: Are boards just faded and dirty, or are they cupped, cracked, and splintered?
- Railings: Grab them and shake. Are they wobbly? Are the balusters (the vertical spindles) secure? If they are wobbly or unsafe, our guide on choosing the right railing for your deck can walk you through the options.
- Fasteners: Are nails popping up? This is a common and annoying problem.
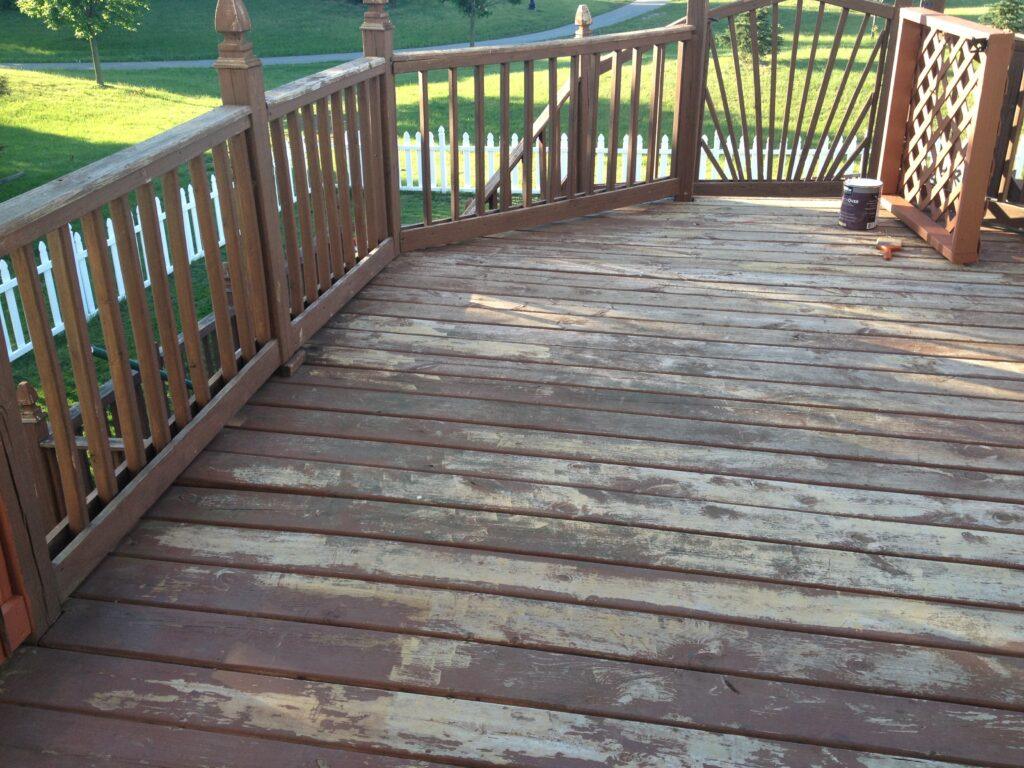
If your problems are mostly cosmetic—fading, mildew, small cracks, and a few popped nails—you are the perfect candidate for deck restoration.
Step 1: The Deep Clean (More Than Just a Quick Wash)
You cannot put new stain over old, failing stain, dirt, or mildew. The prep work is 90% of the job, and this is where most DIY projects fail.
Choose Your Cleaner
Your local hardware store has a dizzying array of deck cleaners. They generally fall into two categories:
| Cleaner Type | Best For… | How It Works |
| Deck Cleaner | General dirt, grime, graying, and mildew. | Usually oxygen-bleach based. It brightens the wood and kills mold. |
| Deck Stripper | Removing old, failing stain (especially semi-transparent or solid). | A more caustic chemical that dissolves the old finish. |
If your deck has an old, flaky stain on it, you must use a stripper first. If it’s just gray and dirty, a cleaner will do. Always follow the manufacturer’s directions and protect your landscaping with plastic sheeting.
The Power Washing Debate: To Use or Not to Use?
A pressure washer is a fantastic tool for deck restoration, but it’s also the easiest way to permanently damage your wood. If you use too much pressure or the wrong tip, you can “fur” the wood, leaving it fuzzy and splintered.
If you choose to power wash:
- Use a fan-tip nozzle (never the red, zero-degree “laser” tip).
- Keep the pressure low, ideally between 500-1500 PSI.
- Keep the nozzle moving, holding it at least 12 inches from the wood.
- Your goal is to rinse the chemicals and dirt off, not blast them off.
After cleaning or stripping, you may need to apply a deck brightener. This neutralizes the harsh chemicals and “opens up” the wood’s pores to accept the new stain.
Step 2: Time for Deck Repair and Prep
With your deck clean and completely dry (wait at least 24-48 hours), it’s time to fix the minor issues you found during your inspection.
Sanding for a Smooth Finish
Sanding is tedious, but it’s what separates an “okay” job from a professional one. It removes any remaining “fur” from power washing, smooths out small splinters, and opens the wood pores for maximum stain absorption.
- For decking: A pole sander or a stand-up rental floor sander (like a random orbital buffer) is easiest.
- For railings: A random orbital hand sander is your best friend.
- Grit: Don’t go too fine. A 60-grit or 80-grit sandpaper is usually perfect.
Once you’re done sanding, sweep and vacuum (or use a leaf blower) to get every last bit of dust off the deck.
Fixing Common Problems
- Popped Nails: Don’t just hammer them back in. Pull them out and replace them with deck screws, which hold much better.
- Loose Boards: Secure them with new deck screws.
- Damaged Boards: If a board is badly split or rotten, replace it. It’s often easier than trying to patch it.
Step 3: Choosing and Applying Your Stain
This is the fun part—where you finally get to add color and protection.
Oil-Based vs. Water-Based Stains
This is the classic debate. Modern water-based (acrylic) stains have improved dramatically and are excellent. This guide from the U.S. Forest Products Laboratory explains in detail how penetrating oils and film-forming finishes work on a scientific level.
| Stain Type | Pros | Cons |
| Oil-Based | – Penetrates deep into the wood. – Rich, beautiful finish. – Easier to re-coat (often just clean and re-apply). | – Slower dry time. – Higher VOCs (stronger smell). – Can be a food source for mildew in damp climates. |
| Water-Based | – Excellent mildew resistance (great for PA!). – Easy soap-and-water cleanup. – Dries quickly. – Low VOCs. | – Can be prone to peeling if not prepped perfectly. – Forms more of a film on top of the wood. |
Transparent vs. Solid: What’s the Right Look?
Stains come in a range of opacities. The one you choose depends on the condition of your wood and your desired look.
- Clear Sealer: Offers water protection but no UV protection. Your deck will still turn gray. Not recommended.
- Transparent / Toner: Adds a hint of color but lets all the natural wood grain show through.
- Semi-Transparent: The most popular choice. It provides good color and UV protection while still allowing the wood grain to be visible.
- Solid Color Stain: Looks just like paint. It completely hides the wood grain (and any imperfections). This is your best option for very old, mismatched, or badly damaged decks. It also offers the longest-lasting protection.
Application Best Practices
- Check the Weather. Do not stain if rain is in the forecast for at least 24 hours. Avoid staining in the direct, hot sun, as this can cause the stain to dry too quickly and not absorb properly.
- Start with Railings. Do all the vertical parts (railings, balusters, steps) first. This prevents you from dripping on your freshly stained deck boards.
- Use a Pad, Brush, or Sprayer. A staining pad on a long pole is great for deck boards. A brush is essential for railings and getting between boards.
- Back-Brush. This is the number one professional secret. If you use a sprayer or roller, always have someone follow behind with a brush. This forces the stain into the wood pores for an even, durable finish.
- Don’t Over-Apply. Two thin coats are always better than one thick, goopy coat. Only apply as much stain as the wood can absorb. If it’s puddling, wipe it off.
Step 4: Long-Term Wood Deck Maintenance
Your deck is restored! Now, let’s keep it that way. Following a few key wood deck maintenance tips is simple and saves you from repeating this whole process any time soon.
- Annual Cleaning: Give your deck a light wash with a mild deck cleaner (not a stripper) every spring to remove pollen, dirt, and any mildew spots.
- Keep it Clear: Don’t let wet leaves pile up in corners. Move planters and rugs around occasionally to let the wood breathe.
- Inspect Regularly: As you sweep, look for any popped screws or new cracks.
A deck in Pennsylvania typically needs to be re-stained every 2-3 years for semi-transparent stains and 3-5 years for solid stains.
DIY vs. Calling a Professional Deck Builder
We’ll be honest: Deck restoration is a lot of work. It’s a physically demanding, multi-day project that requires the right tools and a lot of patience. We have a full guide on the pros and cons of DIY deck building if you’re still on the fence.
You should definitely call a professional if:
- You found significant rot or structural issues during your inspection.
- Your deck is very large, and the idea of sanding the whole thing is overwhelming.
- You simply don’t have a free weekend (or two) to dedicate to the project.
- You want to explore upgrading to a low-maintenance composite material instead.
For homeowners in Bucks county and Montgomery county, a professional eye can be invaluable. At BucksMont Decks, we can give you an honest assessment of whether restoration is your best bet or if it’s time to consider a beautiful, new deck that requires almost zero maintenance.

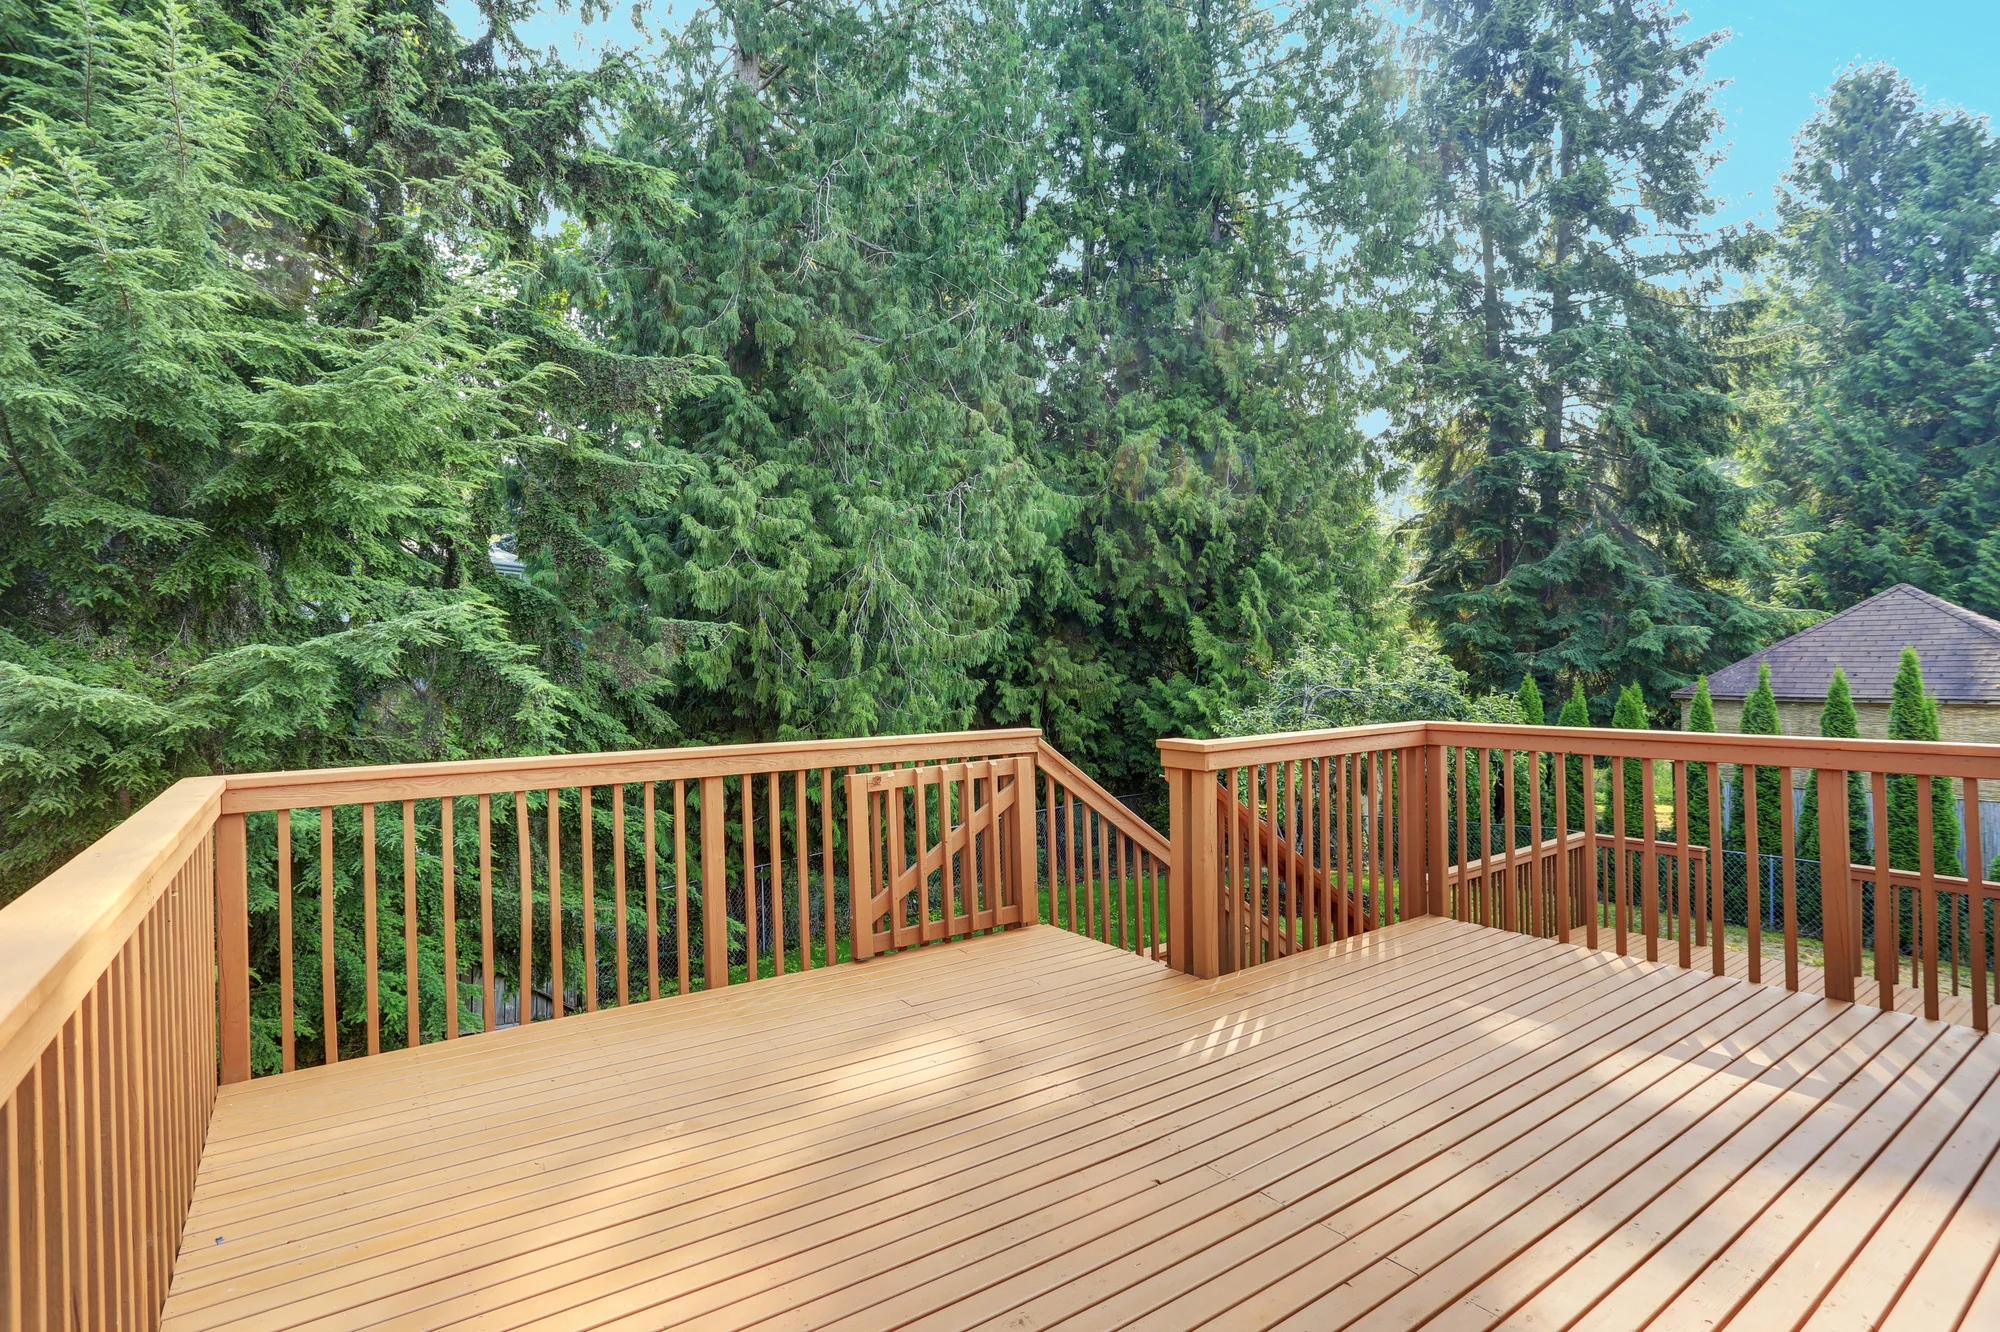
Bringing Your Deck Back to Life
A gray, weathered deck doesn’t have to be a permanent eyesore. With a weekend of work and the right process—inspect, clean, repair, and stain—you can perform an amazing deck restoration that brings your outdoor space back to life.
It’s a tough job, but the reward of a beautiful, safe, and welcoming deck is more than worth the effort.
What’s the biggest challenge you’re facing with your deck project? Do you have a staining tip that’s worked wonders for you? Share your questions or successes in the comments below!
And if you’re in the Pennsylvania area and decide this project is bigger than you want to tackle, contact us for a free estimate. We’d be happy to help.